
How to Take a Screenshot on a Laptop (Complete Guide)
Taking a screenshot on a laptop is a useful way to capture what is displayed on your screen. Screenshots can help you save important information, share error messages, capture images, or create tutorials. Whether you are using a Windows laptop or a MacBook, there are several easy methods to capture your screen.
1. Using the Print Screen (PrtScn) Key – Windows Laptops
Most Windows laptops have a Print Screen (PrtScn) key on the keyboard. Pressing this key captures the entire screen.
Steps:
Press PrtScn on your keyboard.
Open an application like Microsoft Paint, Microsoft Word, or Adobe Photoshop.
Press Ctrl + V to paste the screenshot.
Save the image.
This method copies the screenshot to your clipboard so you can paste it anywhere.
2. Windows + Print Screen (Automatically Saves Screenshot)
You can also save a screenshot automatically.
Steps:
Press Windows Key + PrtScn together.
The screen will dim briefly.
The screenshot will be saved in the Pictures → Screenshots folder.
This is the fastest method for saving screenshots directly.
3. Using the Snipping Tool
Windows laptops also include a built-in screenshot tool called Snipping Tool.
Steps:
Click the Start Menu.
Search for Snipping Tool.
Click New and select the area of the screen you want to capture.
Save the screenshot.
This tool allows you to capture specific parts of the screen instead of the whole display.
4. Using Snip & Sketch (Windows 10/11)
Another powerful screenshot feature in Windows is Snip & Sketch.
Steps:
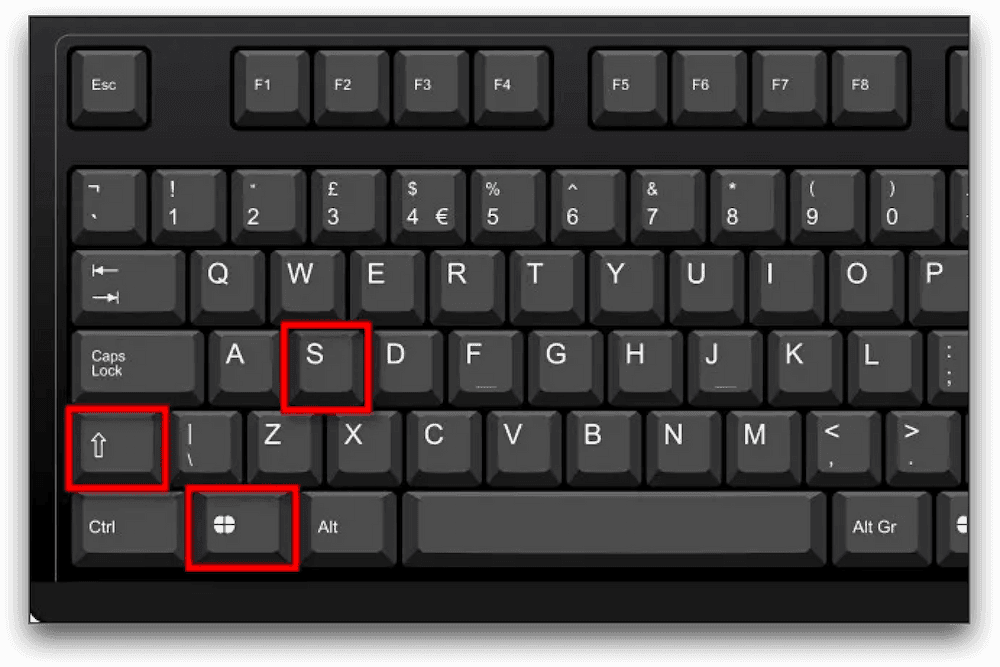
Press Windows Key + Shift + S.
Select the screenshot type (rectangular, freeform, window, or full screen).
The image is copied to your clipboard.
Save it from the notification.
This method is very popular for quick screen captures.
5. Taking Screenshots on a MacBook
If you are using a Apple MacBook, screenshots are also easy.
Common shortcuts:
Capture the whole screen
Press Command + Shift + 3
Capture a selected area
Press Command + Shift + 4, then drag the cursor.
Capture a specific window
Press Command + Shift + 4, then press the Spacebar and click the window.
Screenshots on Mac are automatically saved on the desktop.
Tips for Taking Better Screenshots
Crop unnecessary parts before sharing.
Use annotation tools to highlight important areas.
Organize screenshots in folders for easy access.
Use screenshot tools when creating tutorials or guides.
✅ Conclusion